Practice Glock grip reduction.
<BOW>
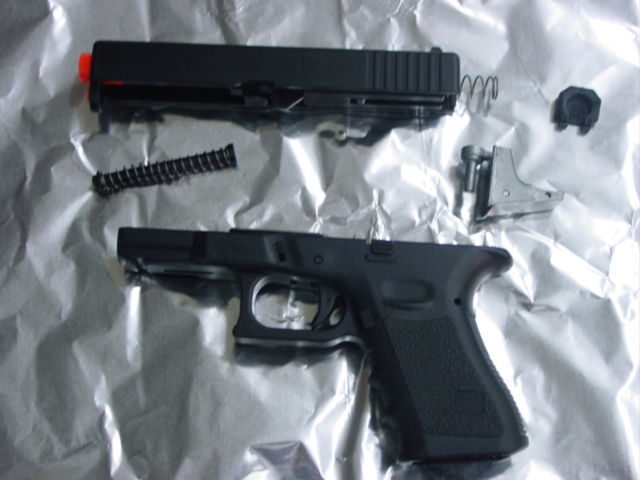
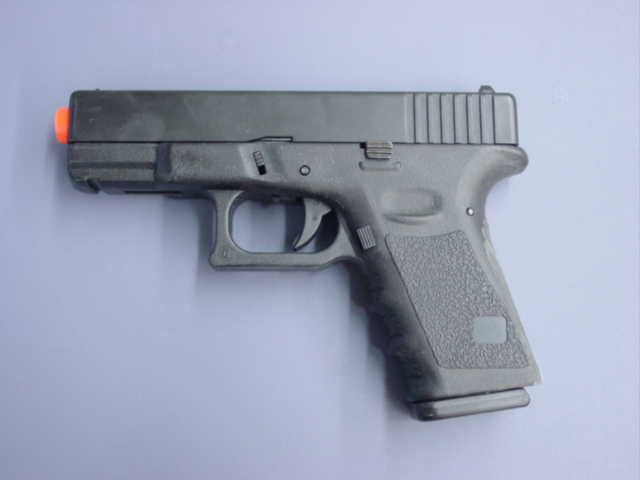
A 20 dollar airsoft spring gun. I thought it would be a total POS, but it's not a bad little gun. It's not great, but it's a lot better than I thought it would be. Shoots straight at my distances. It's a PITA to take down. The trick is to take the cover off the back of the slide first. No instructions were provided...
I prepped the gun by swabbing out the hollow with alcohol and q-tips. Then I scored it up with a screwdriver. I'll do more careful prep when I do the real gun. I did everything on this one half-ass as a learning process. I wanted to see where the system breaks down. It didn't...
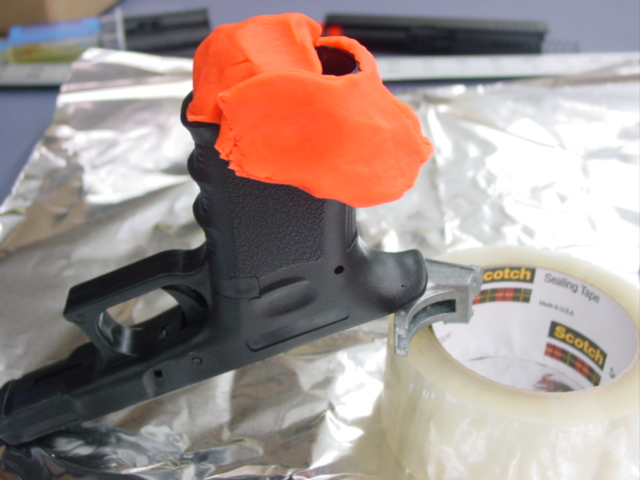
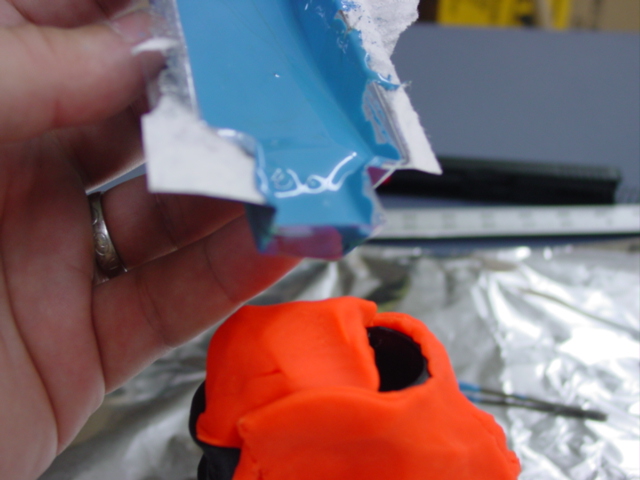
I plugged the hole with PlayDoh. I used PlayDoh for the following reasons:
1. I had some.
2. It's cheap.
3. It doesn't stick to anything.
4. Unlike modeling clay, it will dry up after a few hours - and shrink. My theory is that it will all come out of/off the gun easily. Easier than modeling clay. This proved to be true, and PlayDoh is the way to go.
Here I have formed it to hold the epoxy.
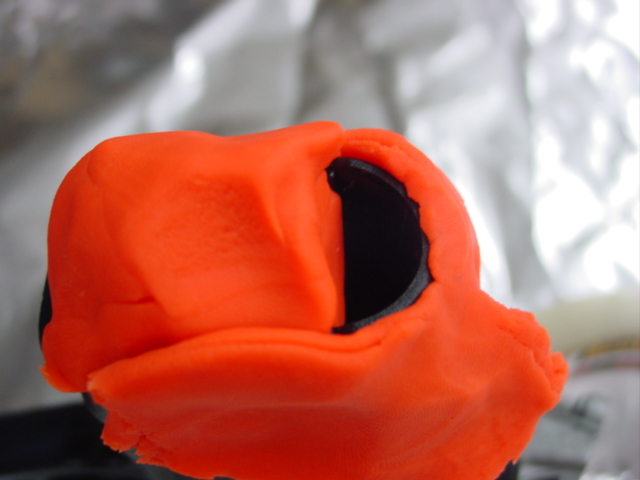
A very careless job. Didn't have much time.
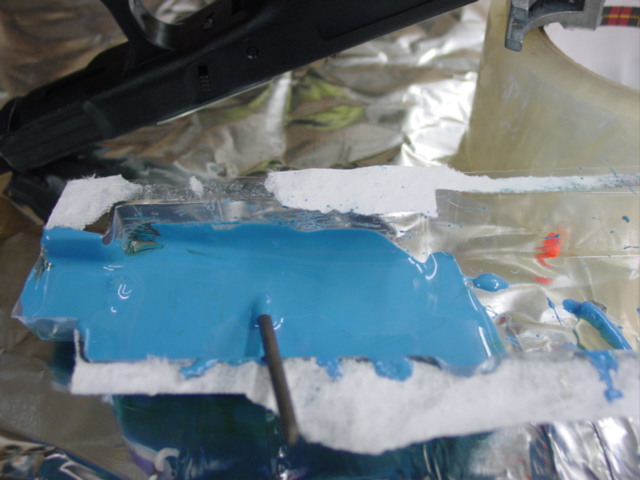
A long time ago, I discovered a trick for thoroughly mixing epoxy. I chuck a nail into a Dremel tool and mix with the Dremel tool on LOW speed. I have done this many times. I also always wear eye goggles.
Well, I got some Marine epoxy and it's blue. I was just now in process of mixing when I got distracted and dropped the mix cup. I hit the off switch, but went the wrong way, and turned the speed all the way to 30000 RPM. Blue epoxy spun off the nail and spattered all over my naked chest and arms.
Best part? The shit does NOT come off.
I am permanently painted blue until it wears off.
I laughed so hard I nearly pissed myself...
I mixed the epoxy right in the package it came in. This did NOT work well, although it was easy to pour. When I do this for real, I will use a plastic cup specifically cut for the purpose. This is a marine epoxy that I got for four bucks at Home Depot. I will use this exact stuff when I do the real guns. Reading the stats, it's perfect. No shrinkage, and it stays somewhat soft. Soft being a relative term...
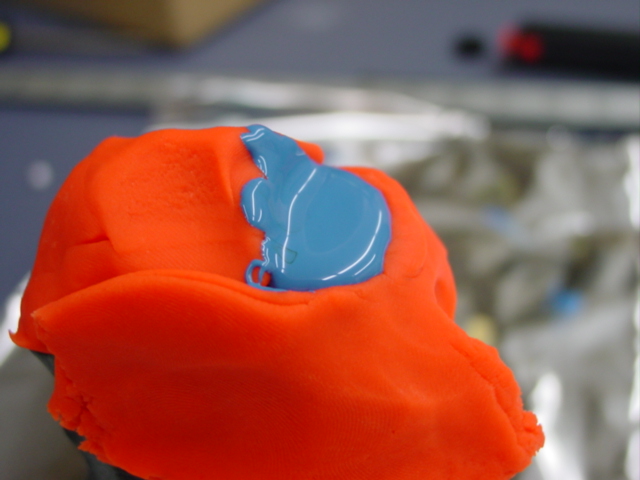
I poured it far too fast, but it's in. I cleaned up from here with some q-tips.
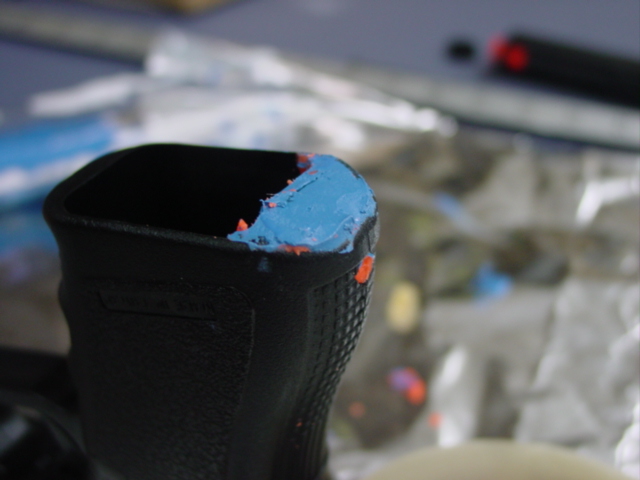
Once it had set about 90%, I removed the PlayDoh and cleaned it up with a knife. There is a long air bubble right at the 'top'. I poured the epoxy WAY too fast. To do this for real, it will be necessary to drizzle the epoxy into the hollow VERY slowly in a thin stream. This will prevent air bubbles if done right.
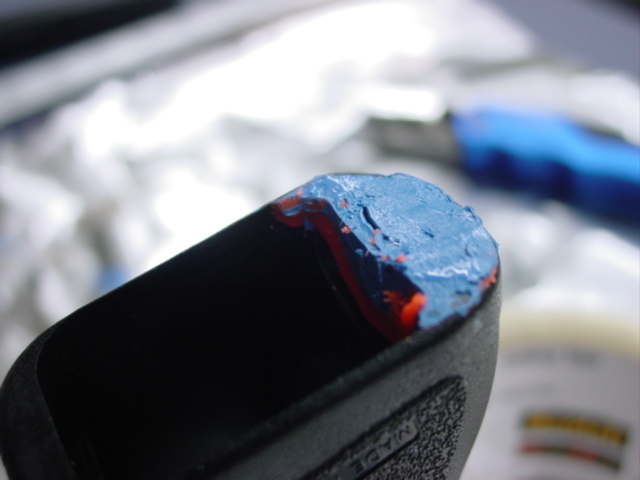
Another view.
I then used masking tape to mark the frame line. This is the maximum removal line. I wound up peeling the tape off when I was 90% done.
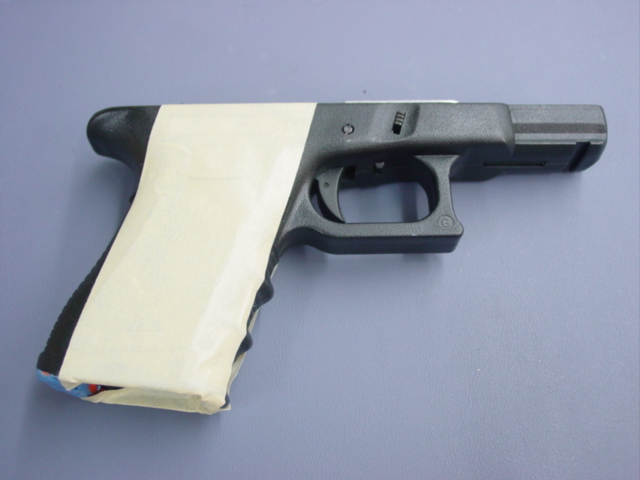
Another view.
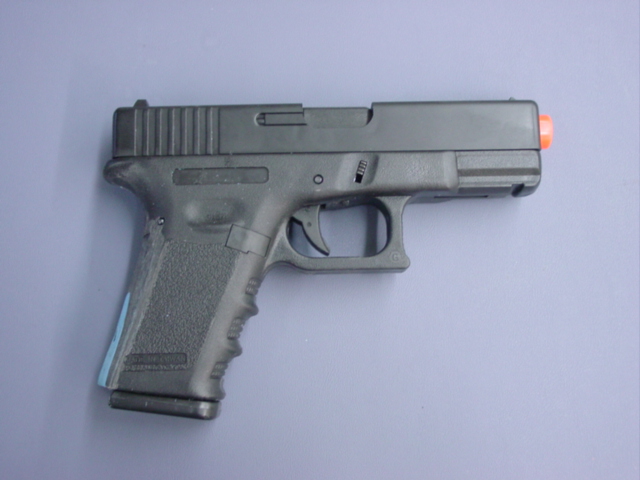
Complete. Some notes:
I used the Dremel tool with the coarse sanding drums. I didn't expect this to work well. In reality, it's PERFECT. Works really well. Taking long strokes at high speed makes for very controllable removal. Wear an old t-shirt. Definitely wear eye goggles. I started by taking the hump off. Then I slowly brought the grip down to what I thought it should look like. Then I started adjusting for feel. I took off more material than I thought I would, but proceeded slowly.
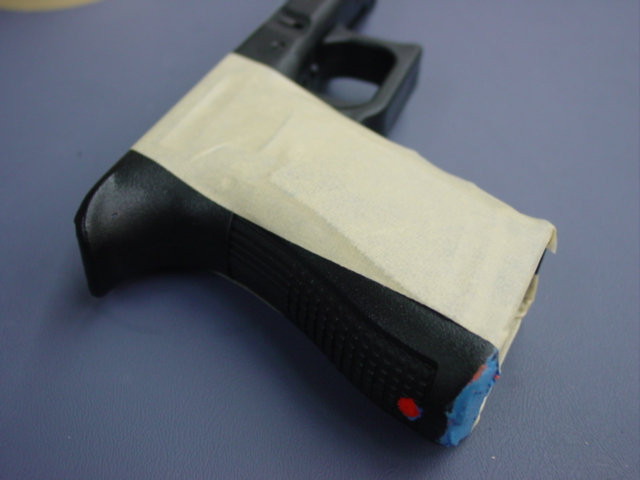
From the right. You can see the blue epoxy in this one.
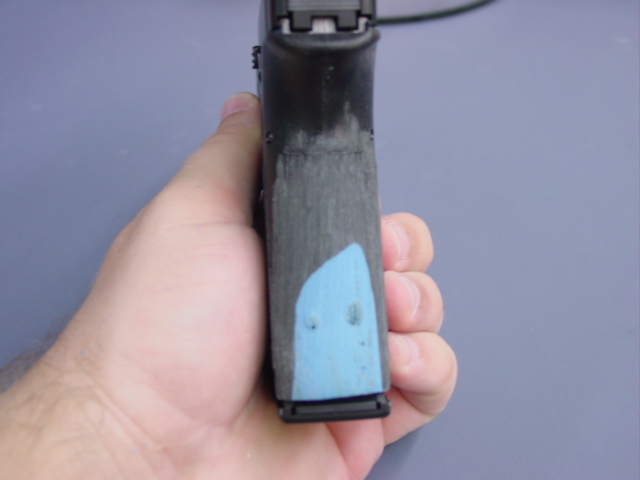
Straight on from the back. You can see some air bubbles in the epoxy. These could be filled if I cared, which I don't for this test gun.
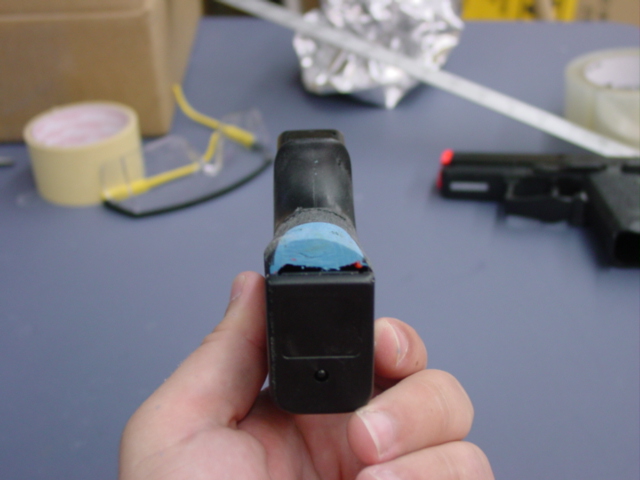
From the bottom, showing profile.
Some notes. You can see that the grip is not symmetrical. When I was grinding for feel, I ground the right side off first. All of a sudden, it got very comfortable, so I tweaked it for the right hand. I can still shoot with the left hand, but it still points high in that case. I will probably grind the real guns for left and right like this rather than grind them symmetrical. To grind them symmetrical would make the grip very boxy, and I didn't think I would like this.
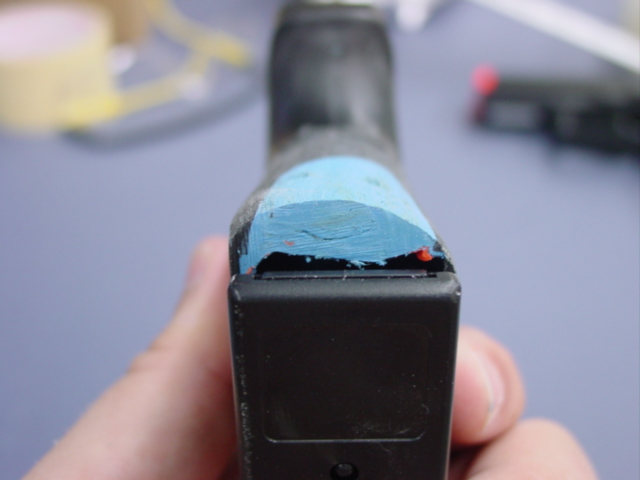
Closer on the profile.
You can see the space left between the magazine and the epoxy. This is bad. On the real guns, I will use a few layers of heavy aluminum foil, flatten it, spray it with mold release (WD-40 works), and hold that in place with the PlayDoh. I will also form the PlayDoh so that the epoxy comes all the way down to the bottom of the magazine. The grips is just a tiny bit short for my hand, and the extra 3/16ths would be a big deal.
I assembled it and fired it. It shoots straight. Maybe a hair high, but MUCH better. It feels very good. It feels a little better than the USPc, but that's because it's shaped for the right hand.
Lessons learned:
1. Prep doesn't have to be great, just good.
2. PlayDoh works great.
3. One tube of epoxy would do two guns.
4. Cut the bottom off a plastic cup. Use that to mix and pour.
5. Form the mold really well.
6. Overfill the hollow.
7. More is better than less. You can always take it off.
8. Long quick strokes with the Dremel sanding drum in ONE direction (from
top to bottom) is best. Back and forth causes gauges.
8B. Tape heavily at the top of the rectangle on the back of the grip, and
do NOT grind above the line. This will make for a much nicer finished
product. I overground the line, and I didn't have to. Looks like
shit. See picture.
9. Take material away slowly. Feel it frequently. Don't just
feel it and keep grinding, but STOP and really feel it. Grab it a few
times. Point it around.
10. I took of the maximum amount of material on the right side and would
liked to have taken off more, but that would have put me into the magazine well,
which would have been bad. It is necessary to be careful...
11. Finishing with a higher grit drum would be easily accomplished, but
leaving the heavy grind will be very good for applying the bedliner material for
the final finish. I haven't gotten my sample, so I was unable to
finish. I see how I will do it, though. I'll apply tape very
carefully and apply with a sponge.
<BOW>
I may think of something else later...
Shane